People & Lifestyle
Step-by-Step Guide to Migrating from HDD to SSD with TeraByte Drive Image Backup and Restore Suite
Migrating from a traditional hard disk drive (HDD) to a solid-state drive (SSD) can significantly improve your computer’s performance by reducing load and access times, making it a worthwhile upgrade for many users. This migration is particularly helpful for those dealing with slow computer performance or those who have acquired a new SSD and wish to transfer their operating system, applications, and data seamlessly. In such cases, using TeraByte Drive Image Backup and Restore Suite can be invaluable in creating a hassle-free and efficient migration process. This suite allows users to backup and restore their systems, providing an optimal way to transfer everything swiftly and safely. The following guide will walk you through each step of migrating from HDD to SSD using the TeraByte Drive Image Backup and Restore Suite.
Step 1: Preparing for the Migration
Acquire Necessary Equipment
Before beginning, ensure you have the SSD and a SATA USB cable to connect it to your computer. You’ll also need to have TeraByte Drive Image Backup and Restore Suite installed on your computer.
Install TeraByte Drive Image Backup and Restore Suite
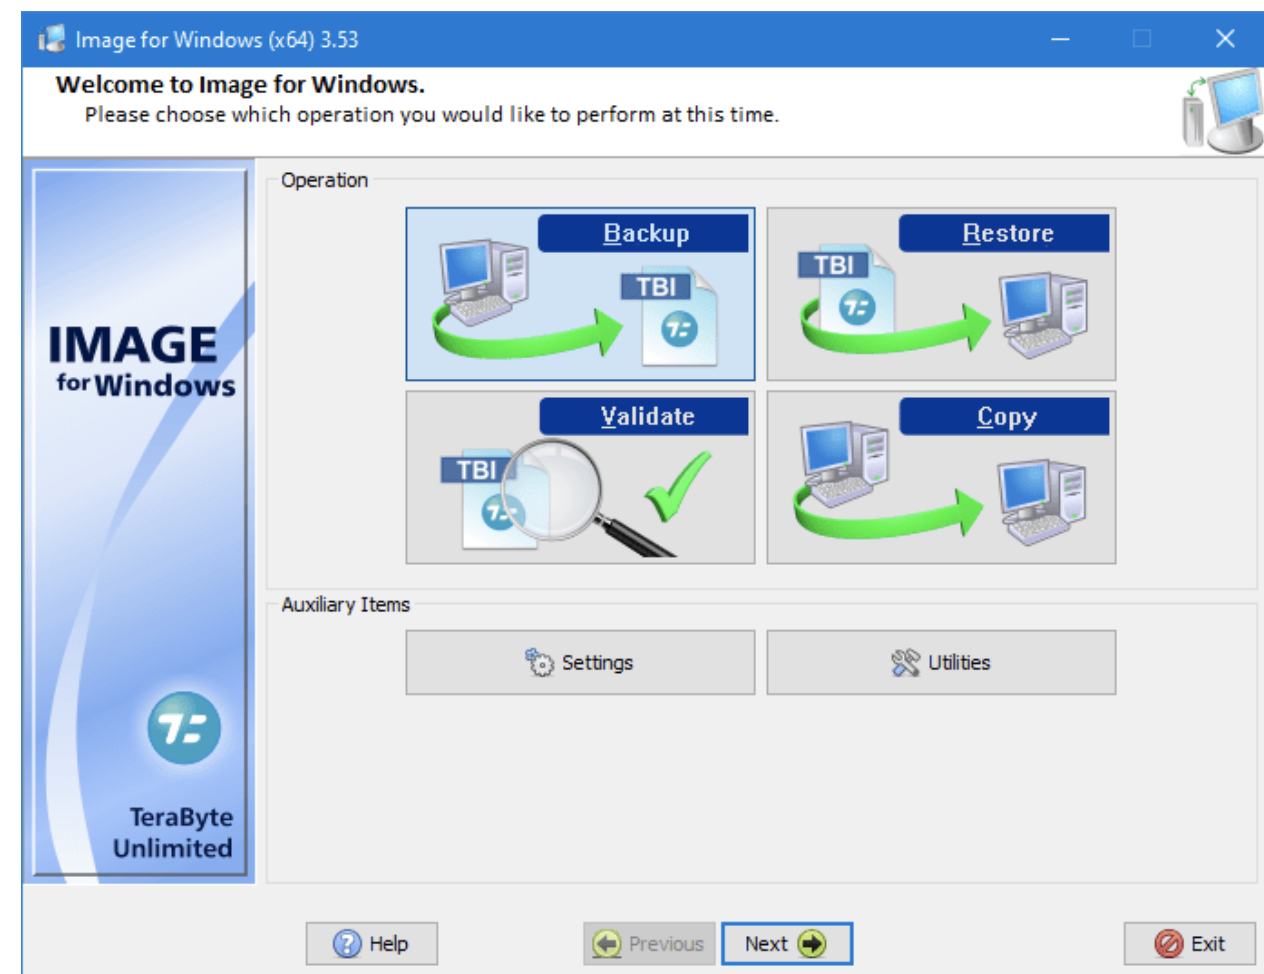
Visit the official website and download the suite. Follow the installation instructions to set up the software on your system.
Step 2: Creating a Backup Image of Your HDD
Launch the Software
Open the TeraByte Drive Image Backup and Restore Suite and select the option to create a backup image of your existing HDD.
Select Source Drive
Choose the HDD you want to migrate from as the source drive
Start Backup Process
Once everything is set, start the backup process. The duration will depend on the amount of data stored on your HDD.
Step 3: Connecting and Preparing the SSD
Connect the SSD
Using the SATA USB cable, connect your SSD to the computer. Make sure it is detected by your system.
Step 4: Restoring the Backup Image to SSD
Launch TeraByte Drive Image Backup and Restore Suite
Enable 1MiB Alignment
Choose Settings / Geometry Tab – Enable ‘Align Partitions on 1MiB Boundaries’. Click Ok.
Once again, open the suite and select the option to restore a backup image.
Locate Backup Image
Locate the backup image of your HDD and select it.
Check the ‘Select Target Drive Manually’ “checkbox”. Click Next.
Select Destination Drive
Choose the connected SSD as the destination drive for restoring the backup image. Click Next.
Start Restoration Process
Initiate the restoration process, and wait for it to complete. The duration will vary based on the backup size.
Step 5: Replacing the HDD with SSD
Power Off Your Computer
Once the restoration process is complete, shut down your computer completely.
Replace the Drives
Open the computer casing, and carefully replace the old HDD with the new SSD, ensuring all connections are secured.
Boot Up Your Computer
Power on your computer. It should boot up from the new SSD with all your data, applications, and settings intact.
Step 6: Configuring the Boot Order (if necessary)
Enter BIOS/UEFI Setup
If your computer doesn’t boot from the SSD, you may need to enter the BIOS/UEFI setup by pressing the appropriate key during the boot process, usually, DEL, F2, or ESC.
Change Boot Order
Navigate to the Boot Order settings and move the SSD to the top of the list to give it boot priority.
Save and Exit
Save the settings and exit the BIOS/UEFI setup. Your computer should now boot from the SSD.
Conclusion
Migrating from an HDD to an SSD can seem like a daunting task, but with the right tools like the TeraByte Drive Image Backup and Restore Suite, the process becomes significantly simpler and more manageable. Following the outlined steps ensures a smooth and hassle-free migration, allowing users to enjoy enhanced performance and speed that comes with SSDs. It’s crucial to double-check every step to avoid any issues, and once done, you can revel in a more responsive and efficient computing experience.
TeraByte Drive Image Backup and Restore Suite is a versatile tool that provides a streamlined and reliable approach to data migration, making it a valuable resource for anyone looking to upgrade their storage solution. The thorough and user-friendly interface accommodates users of all expertise levels, ensuring a seamless transition from traditional HDDs to modern SSDs. In a digital age where efficiency and speed are paramount, upgrading to an SSD with the assistance of sophisticated software solutions is a step in the right direction.


